7.1 KiB
![]()
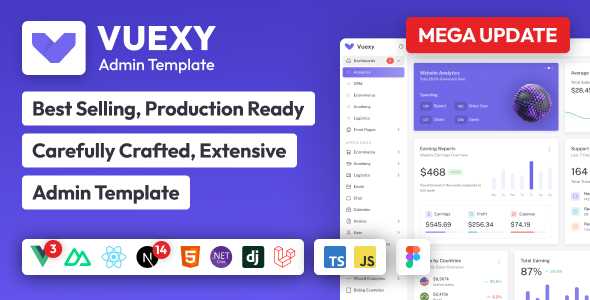
Vuexy - Bootstrap 5 HTML Laravel Admin Template
Most Powerful & Comprehensive Bootstrap 5 HTML Laravel Admin Dashboard Template built for developers!
Introduction
Vuexy – HTML Laravel Admin Dashboard Template – is the most developer friendly & highly customizable Admin Dashboard Template based on Bootstrap 5.
If you’re a developer looking for an admin dashboard that is developer-friendly, rich with features, and highly customizable look no further than Vuexy. We’ve followed the highest industry standards to bring you the very best admin template that is not only fast and easy to use but highly scalable. Offering ultimate convenience and flexibility, you’ll be able to build whatever application you want with very little hassle.
Build premium quality applications with ease. Use our innovative admin template to create eye-catching, high-quality WebApps. Your apps will be completely responsive, ensuring they’ll look stunning and function flawlessly on desktops, tablets, and mobile devices.
Installation ⚒️
We recommend you use mentioned system configuration
- Node version (^18.12.0 or LTS)
- Composer Version (^2.2)
- PHP version (^8.2)
- Laravel Version (^12.0.0)
-
Install the composer packages
composer install -
In the root directory, you will find a file named
.env.example, rename the given file name to.envand run the following command to generate the key (You can also setup your database credentials here).php artisan key:generate -
By running the following command, you will be able to get all the dependencies in your node_modules folder:
yarn # npm install [for npm] -
To run the project, you need to run following command in the project directory. It will compile the php files & all the other project files. If you are making any changes in any of the php file then you need to run the given command again.
yarn build # npm run build [for npm] -
To serve the application you need to run the following command in the project directory. (This will give you an address with port number 8000.)
Now navigate to the given address you will see your application is running.
php artisan serve -
To change the port address, run the following command:
php artisan serve --port=8080 // For port 8080 sudo php artisan serve --port=80 // If you want to run it on port 80, you probably need to sudo. -
Watching for changes:If you want to watch all the changes you make in the application then run the following command in the root directory.yarn dev # npm run watch [for npm] -
Building for Production:If you want to run the project and make the build in the production mode then run the following command in the root directory, otherwise the project will continue to run in the development mode.Make sure to change the
APP_ENV=localvariable's valueAPP_ENV=production.yarn prod # npm run production [for npm]Required Permissions on server
If you are facing any issues regarding the permissions, then you need to run the following command in your project directory:
sudo chmod -R o+rw bootstrap/cache
sudo chmod -R o+rw storage
Please visit our docs for installation guide.
Documentation 📜
Check out our live Documentation
Support 👨💻
We use Product purchase code as support tickets to manage Item support.
Make sure you use our Support Portal to create a support ticket.
Why forking is disabled? 🔒
You will lose repository access when your support expires. If you have forked the repo and you lose the access to our repo then your fork also got deleted by GitHub.
Hence, as precautions we disabled forking our repo.
Solution
However, you can still keep your repo even after your support expires by setting our repo as upstream:
- Create a new private repo in your GitHub. Make sure it's a private repo. You can't share our code publicly as per license.
- Clone our repo:
git clone https://github.com/pixinvent/vuexy-html-laravel-admin-template.git - Navigate to cloned directory
- Remove our repo as origin by running command:
git remote remove origin - Add your newly created repo as origin by running command:
git remote add origin YOUR_NEWLY_CREATE_REPO_GIT_URL - Add our repo as upstream by running command:
git remote add upstream https://github.com/pixinvent/vuexy-html-laravel-admin-template.git - Push the code to GitHub by running command:
git push -u origin main
Now, whenever you want to pull the latest changes from our repo just pull the changes by running command: git pull upstream main
Cheers 🥂
Contributing 🦸
Contributions are always welcome and recommended! Here is how:
- Clone our repo
git clone https://github.com/pixinvent/vuexy-html-laravel-admin-template.git - create a new branch based on branch you want to make Pull request to. For example if you want to make pull request to main branch, create new branch based on main branch.
- Push your changes to new branch
- Create pull request
Contribution Requirements 🧰
- When you contribute, you agree to give a non-exclusive license to PixInvent to use that contribution in any context as we (PixInvent) see appropriate.
- If you use content provided by another party, it must be appropriately licensed using an open source license.
- Contributions are only accepted through Github pull requests.
- Finally, contributed code must work in all supported browsers.